动画篇01_快捷键
本文共 692 字,大约阅读时间需要 2 分钟。
最近翼狐网上购买了一套动画理论的基础课程(影视角色动画师成长之路)。外加自己搜集的blender的动画课程等结合着学习。把学习成果应用到blender中。至于绑定的话,我的目标是交互性,所以说必须有一套能够适合自己的导向UE4的流程,近期也摸索了maya的advance skeleton和UE4 的allright rig,最终我还是选择了使用blender的auto rig(相对来说成本低一些,流程化清晰一些)。
针对性的对做一些总结:最基础的就是界面操作、如何插入帧、如何控制时间轴、如何操作关键帧、如何自动k帧、以及初步认识Graph Editor
界面:
GX: 全局方向上的移动
RX:全局方向的旋转
GXX : 局部X轴向坐标方向的移动
RXX: 局部方向的 旋转
重置移动和旋转:
Alt + G 重置移动
Alt + R 重置旋转
插入帧:
I insert
时间轴的控制:
帧头 shift ←
帧尾 shift →
单帧移动 ← →
关键帧之间移动 方向键↑ ↓
预览区域:
p,使得播放区域在选定的预览区域
Alt + P 清除预览区域
关键帧的操作:
拖拽关键帧:
点击,拖拽可以移动,也可以使用g 移动
缩放关键帧:
S 当下选定的两个帧 会以当前65帧(当前帧)为中心缩放

添加标记marker
M
Ctrl M改变marker的名字
自动关键帧:

为了减少冗余,只对需要K帧的进行插入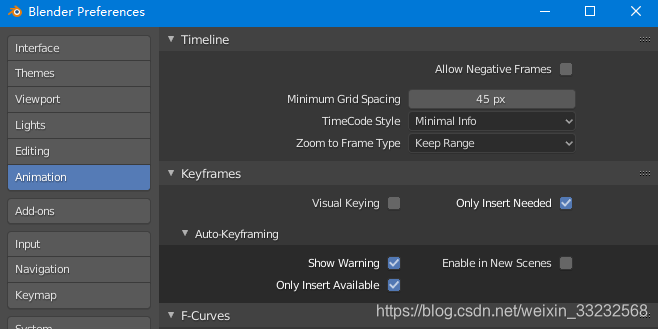
Graph editor: 教程中大部分的动画调整都会借助这个编辑器来进行
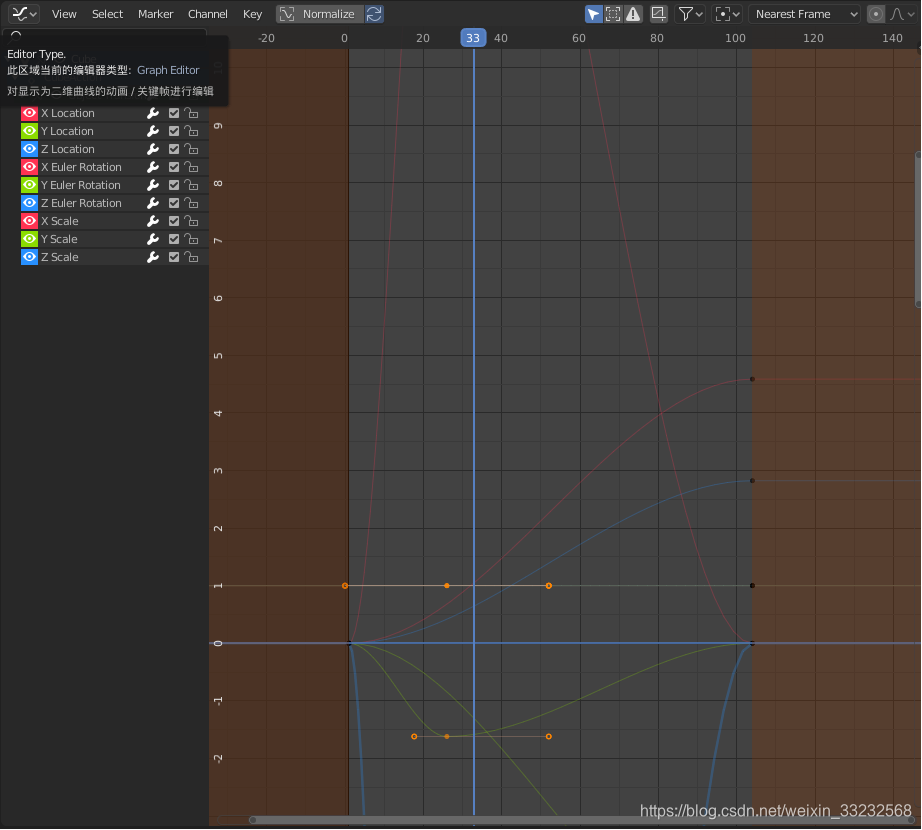
T:可以选择两点间的曲线类型,
V可以选择单点的控制手柄的类型,其中vector用于打折
转载地址:http://occp.baihongyu.com/
你可能感兴趣的文章
mysql 导入导出大文件
查看>>
MySQL 导出数据
查看>>
mysql 将null转代为0
查看>>
mysql 常用
查看>>
MySQL 常用列类型
查看>>
mysql 常用命令
查看>>
Mysql 常见ALTER TABLE操作
查看>>
MySQL 常见的 9 种优化方法
查看>>
MySQL 常见的开放性问题
查看>>
Mysql 常见错误
查看>>
mysql 常见问题
查看>>
MYSQL 幻读(Phantom Problem)不可重复读
查看>>
mysql 往字段后面加字符串
查看>>
mysql 快速自增假数据, 新增假数据,mysql自增假数据
查看>>
Mysql 批量修改四种方式效率对比(一)
查看>>
Mysql 报错 Field 'id' doesn't have a default value
查看>>
MySQL 报错:Duplicate entry 'xxx' for key 'UNIQ_XXXX'
查看>>
Mysql 拼接多个字段作为查询条件查询方法
查看>>
mysql 排序id_mysql如何按特定id排序
查看>>
Mysql 提示:Communication link failure
查看>>